We have a new project!!!!
Tuning a J-pole antenna is a crucial step in optimizing its performance for a specific frequency or frequency range. The tuning process involves adjusting the lengths of the antenna elements to resonate at the desired frequency, which ensures maximum efficiency and a low standing wave ratio (SWR). Here’s a guide on how to tune a J-pole antenna:
1. Prepare Necessary Tools:
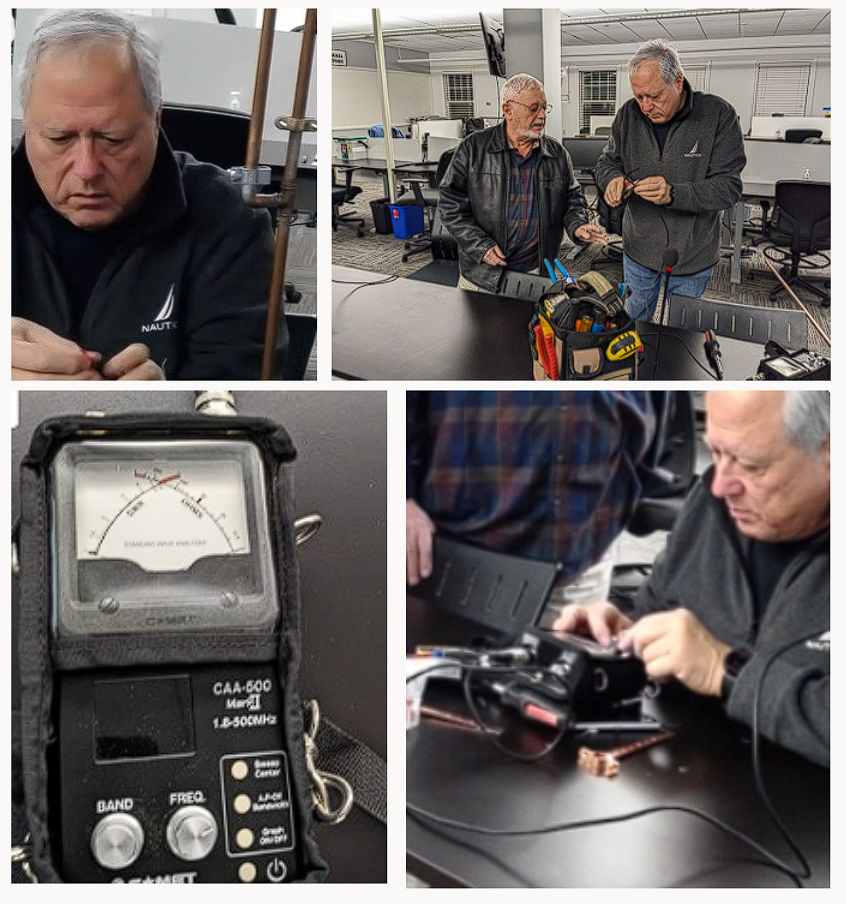
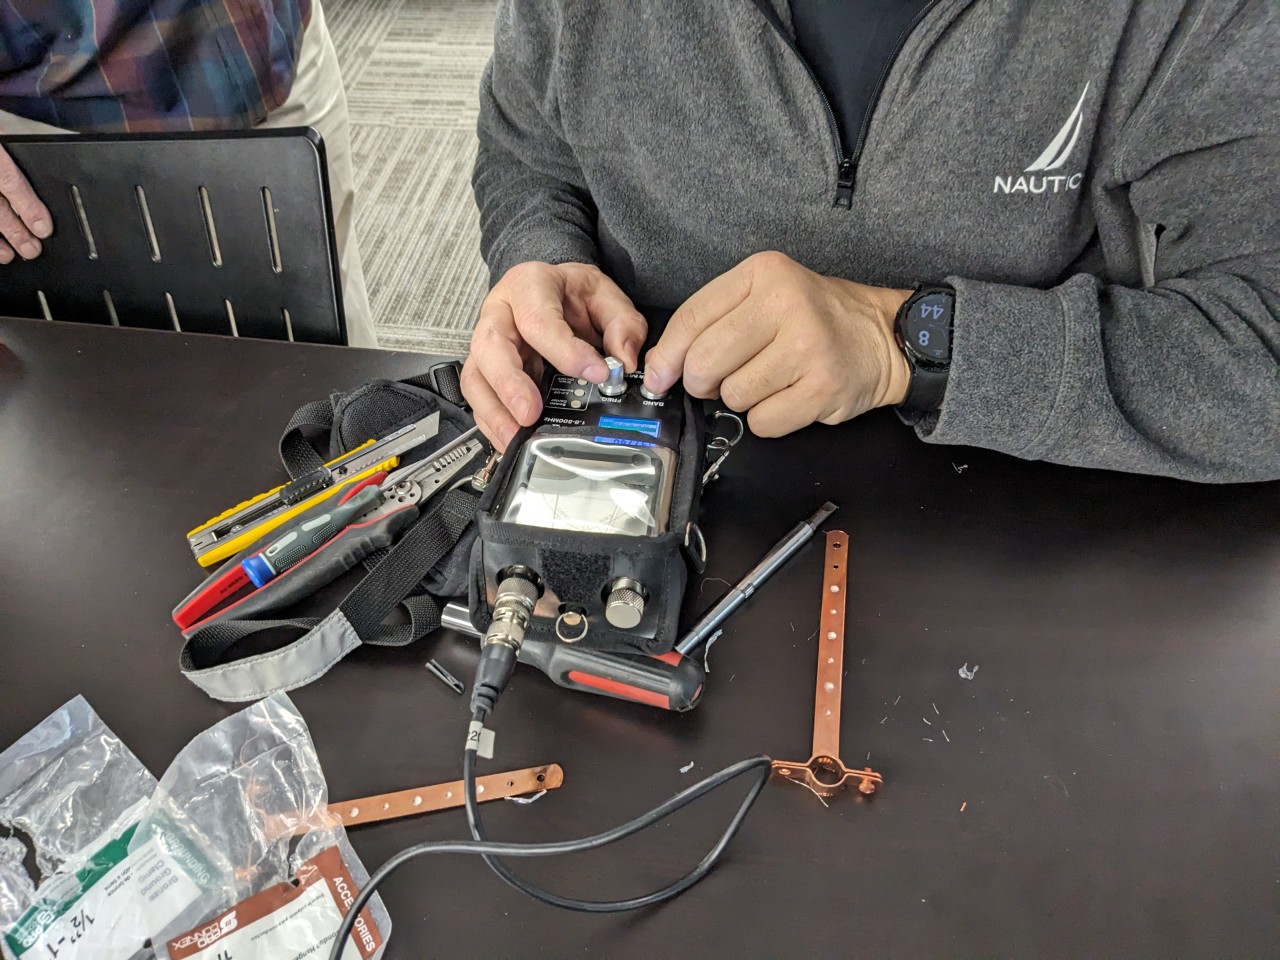
- SWR Meter or Antenna Analyzer: This tool is essential for measuring the standing wave ratio and ensuring that the antenna is properly tuned.
- Coaxial Cable: Use a length of coaxial cable to connect your J-pole antenna to the SWR meter or antenna analyzer.
- Adjustment Tools: Depending on your J-pole design, you might need tools to adjust the length of the elements. This could include a hacksaw for cutting tubing or wire, as well as a soldering iron if adjustments involve soldered connections.
2. Initial Assembly:
- Construct the J-pole: Build the J-pole antenna according to the design specifications. Follow the calculations for element lengths based on the target frequency.
3. Install the J-pole:
- Mount the Antenna: Install the J-pole in its intended location. Ensure that it is clear of obstructions and properly grounded if required.
4. Connect SWR Meter:
- Connect Coaxial Cable: Use a length of coaxial cable to connect the J-pole antenna to the SWR meter or antenna analyzer. Connect one end to the antenna feed point and the other to the SWR meter.
5. Measure SWR:
- Check Initial SWR: Transmit a test signal and observe the SWR readings on the meter. A high SWR indicates that the antenna needs tuning.
6. Adjust Element Lengths:
- Fine-tune the Lengths: If the SWR is too high, adjustments to the element lengths are needed. Make small adjustments, either by trimming or extending the lengths, and recheck the SWR after each modification.
- Repeat the Process: Iterate this process until the SWR readings are within an acceptable range. Aim for an SWR close to 1:1 for optimal performance.
7. Test Across Frequencies:
- Check Bandwidth: Verify that the antenna performs well across the entire frequency band of interest. Make additional adjustments if necessary.
8. Secure Connections:
- Once Optimized: Once the SWR is within an acceptable range and the antenna is performing well, secure all connections to prevent unintentional changes.
9. Final Installation:
- Securely Mount the Antenna: If adjustments have been made, ensure the antenna is securely mounted in its final position.
By carefully following these steps and making gradual adjustments, you can effectively tune a J-pole antenna for optimal performance on your desired frequency or frequency range.
Leave a Reply